 New arrival
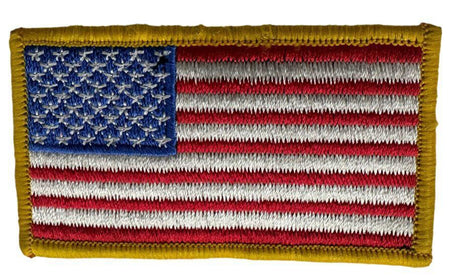
WCEP120 USA FLAG PATCH FOR BIKER VESTS AND JACKETS, CAPS, BAG PACKS IRON ON - SEW ON
$4.95 USDUnit price /Unavailable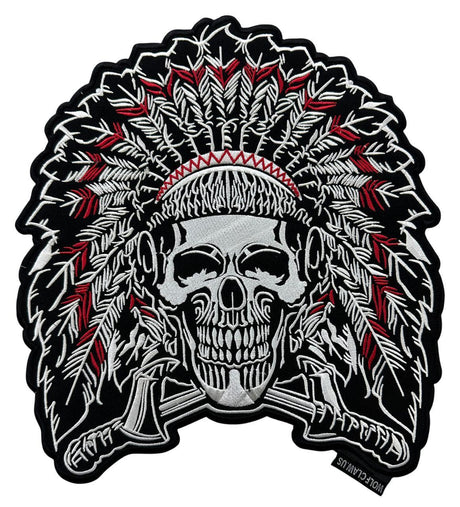 New arrival$29.95 USDUnit price /Unavailable
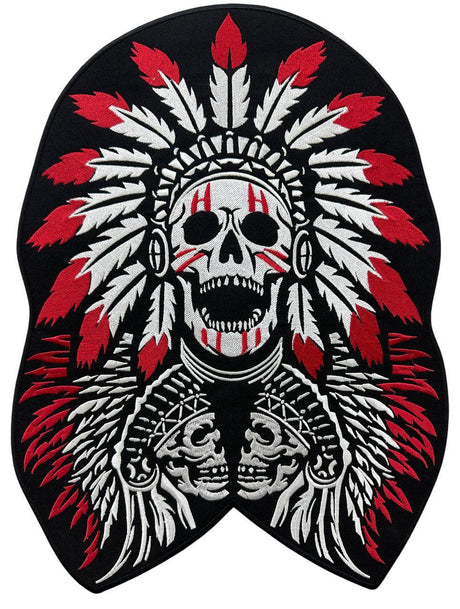 New arrival$28.95 USDUnit price /Unavailable
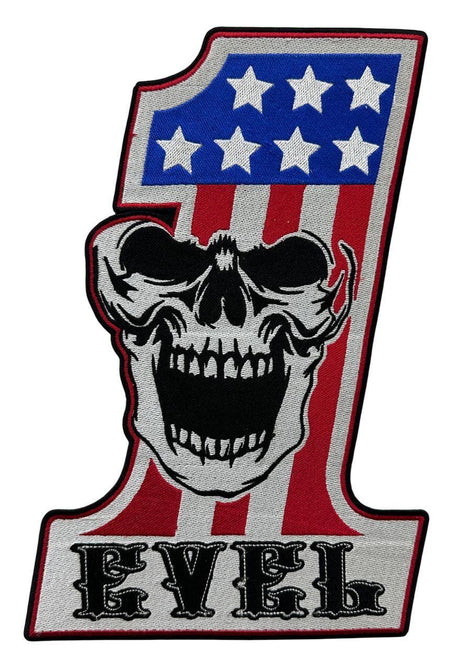 New arrival
WCEP178 EVEL 1 USA VINTAGE FLAG WITH SKULL EMBROIDERY PATCH, IRON ON, SEW ON PATCH 1 USA FLAG
$12.95 USDUnit price /Unavailable New arrival$24.95 USDUnit price /Unavailable
 Up to 17% offNew arrival
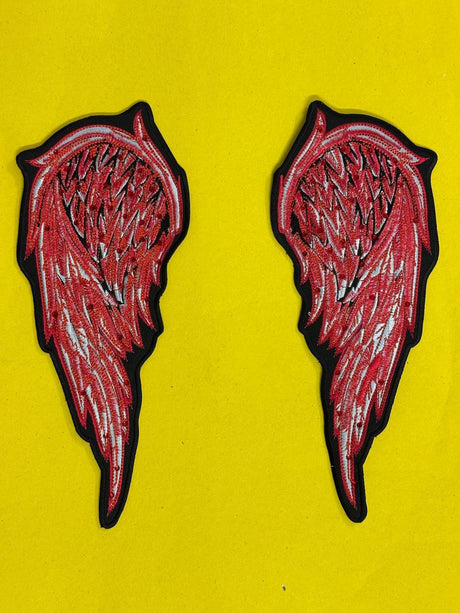
WCEP37 ANGEL WINGS RED WITH RHINESTONES DESIGN MOTORCYCLE PATCH EMBROIDERY IRON ON PATCH
$24.99 USD$29.99Unit price /Unavailable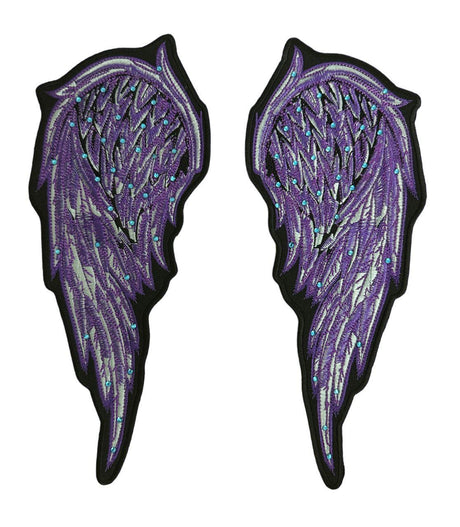
 Up to 17% offNew arrival
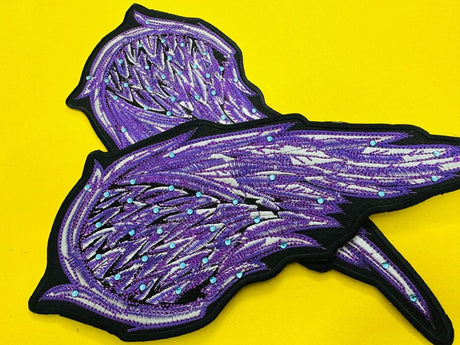
WCEP38 ANGEL WINGS PURPLE WITH RHINESTONES DESIGN MOTORCYCLE PATCH EMBROIDERY IRON ON PATCH
$24.99 USD$29.99Unit price /Unavailable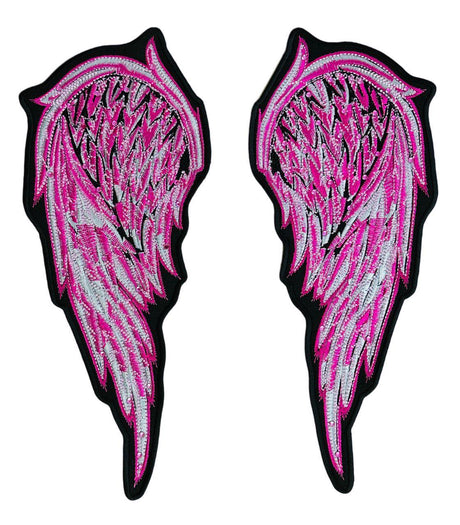
 Up to 17% offNew arrival
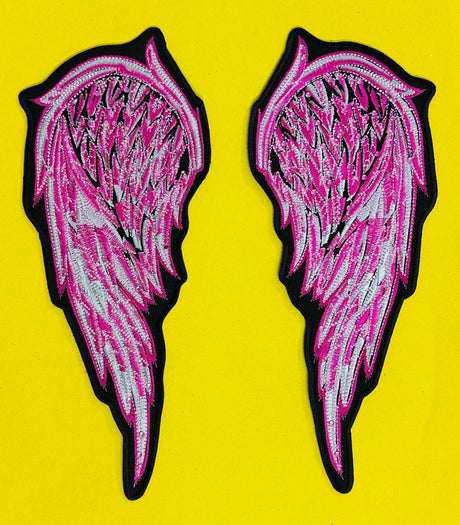
WCEP39 ANGEL WINGS PINK WITH RHINESTONES DESIGN MOTORCYCLE PATCH EMBROIDERY IRON ON PATCH
$24.99 USD$29.99Unit price /Unavailable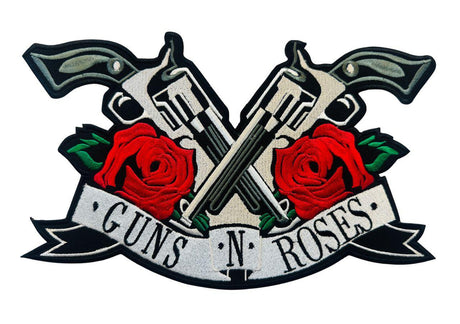
 New arrival
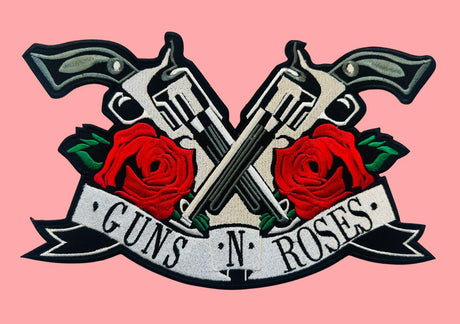
WCEP45 GUNS & ROSES ( BOTH SIDE PISTOLS ) DESIGN MOTORCYCLE PATCH EMBROIDERY IRON ON PATCH
$14.99 USDUnit price /Unavailable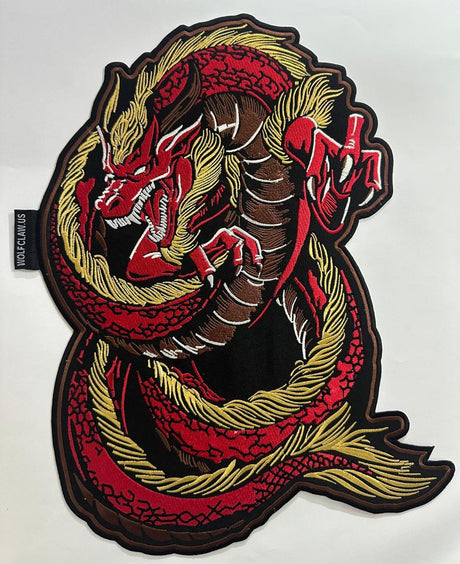 Up to 14% offNew arrival
WCEP48 LARGE DRAGON (RED & YELLOW ) DESIGN DESIGN MOTORCYCLE PATCH EMBROIDERY IRON ON PATCH
$29.99 USD$34.99Unit price /Unavailable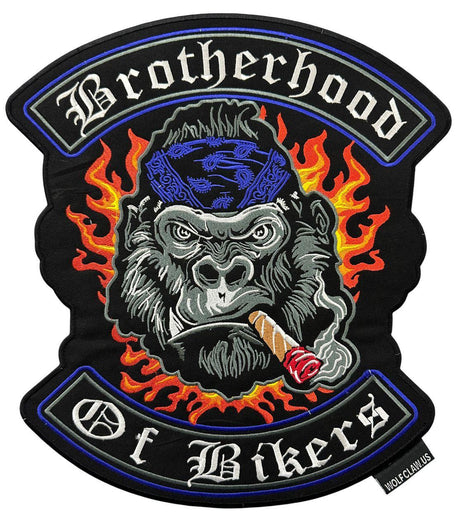 Up to 14% offNew arrival
WCEP58 BROTHER HOOD OF BIKER PURPLE DESIGN DESIGN MOTORCYCLE PATCH EMBROIDERY IRON ON PATCH
$29.99 USD$34.99Unit price /Unavailable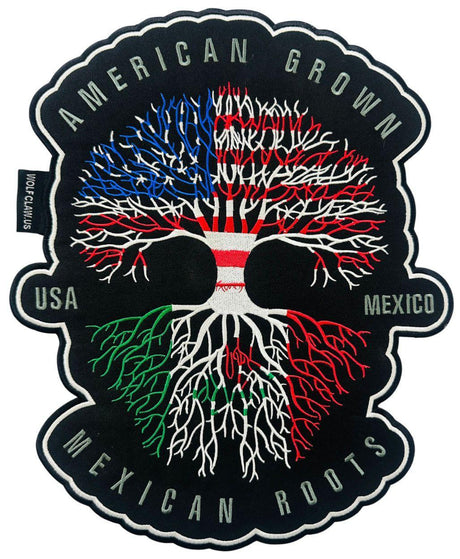 Up to 27% offNew arrival
WCEP69 AMERICAN GROWN-MEXICAN ROOTS DESIGN MOTORCYCLE PATCH EMBROIDERY IRON ON PATCH
$21.99 USD$29.99Unit price /Unavailable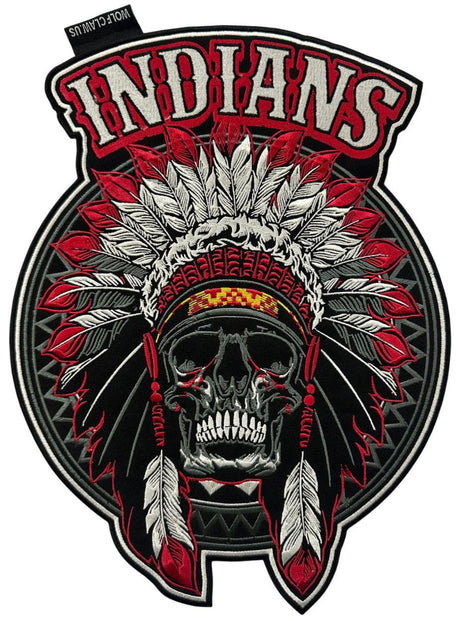 Up to 33% offNew arrival
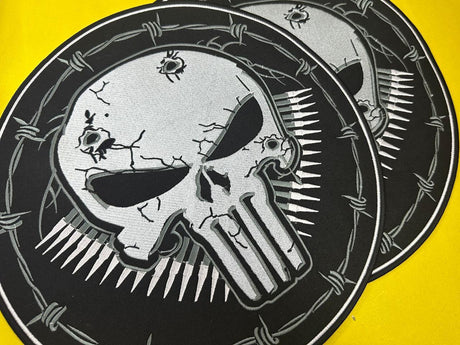
WCEP70 RED INDIAN SKULL ( RED+WHITE+BLACK+YELLOW ) DESIGN MOTORCYCLE PATCH EMBROIDERY IRON ON PATCH
$19.99 USD$29.99Unit price /Unavailable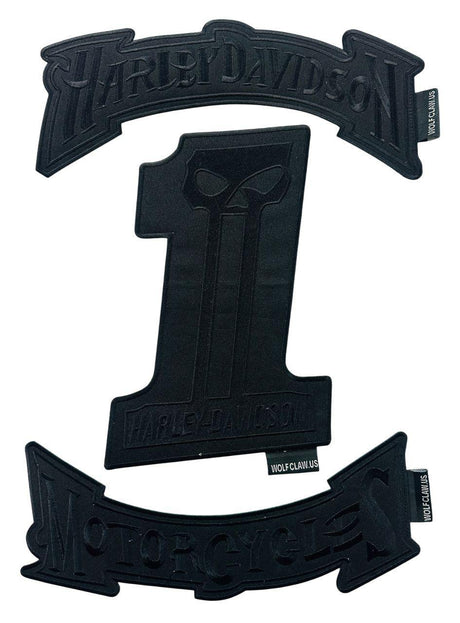 Up to 40% offNew arrival$17.99 USD
$29.99Unit price /Unavailable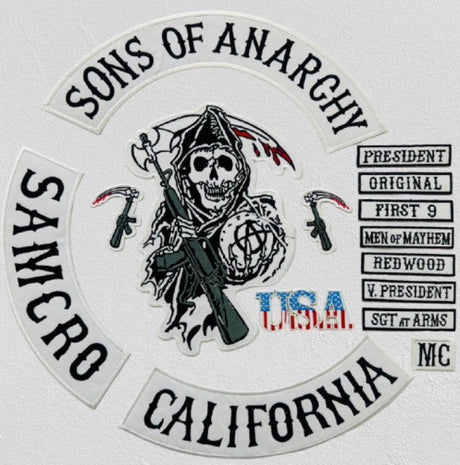 Up to 17% offNew arrival
WCEP73 SONS OF ANARCHY BLACK SET OF 15 PIECES DESIGN MOTORCYCLE PATCH EMBROIDERY IRON ON PATCH
$24.99 USD$29.99Unit price /Unavailable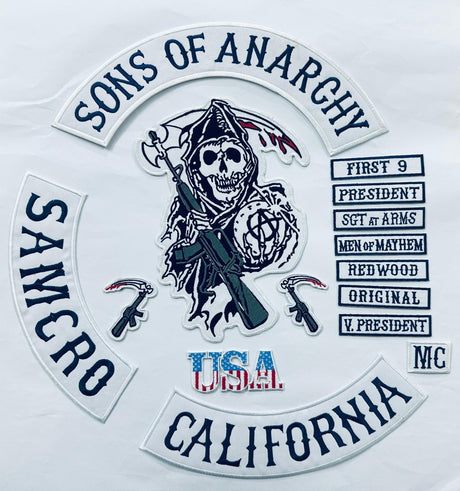 Up to 17% offNew arrival
WCEP74 SONS OF NARCHY BLUE SET OF 15 PIECES DESIGN MOTORCYCLE PATCH EMBROIDERY IRON ON PATCH
$24.99 USD$29.99Unit price /Unavailable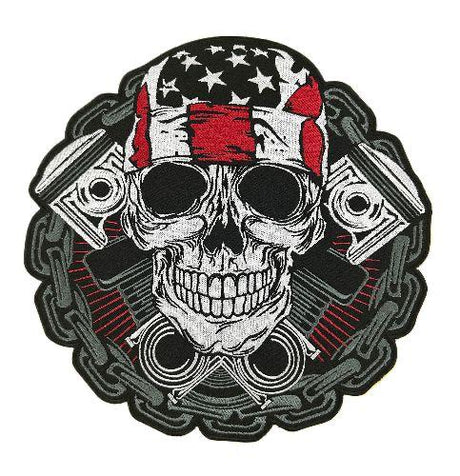 Up to 17% offNew arrival$24.99 USD
$29.99Unit price /Unavailable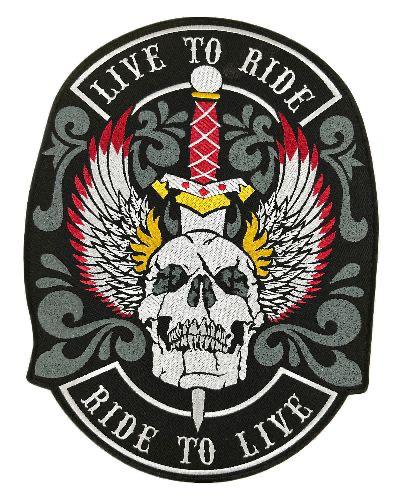 Up to 17% offNew arrival
WCEP76 RIDE TO LIVE - LIVE TO RIDE (LARGE ) DESIGN MOTORCYCLE PATCH EMBROIDERY IRON ON PATCH
$24.99 USD$29.99Unit price /Unavailable Up to 17% offNew arrival
WCEP77 ALL YOU NEED STRONG ENGINE ( LARGE ) DESIGN MOTORCYCLE PATCH EMBROIDERY IRON ON PATCH
$24.99 USD$29.99Unit price /Unavailable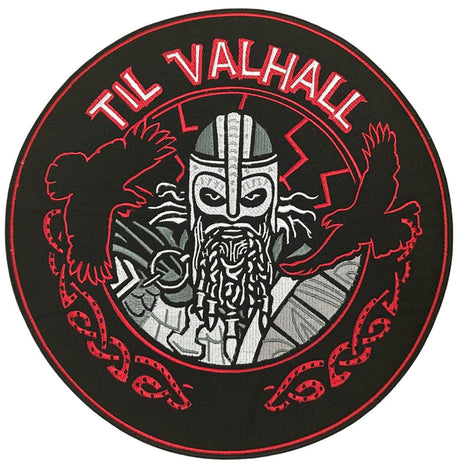 Up to 33% offNew arrival
WCEP78 TIL VALHALL ROUND (RED + BLK AND GREY ) DESIGN MOTORCYCLE PATCH EMBROIDERY IRON ON PATCH
$19.99 USD$29.99Unit price /Unavailable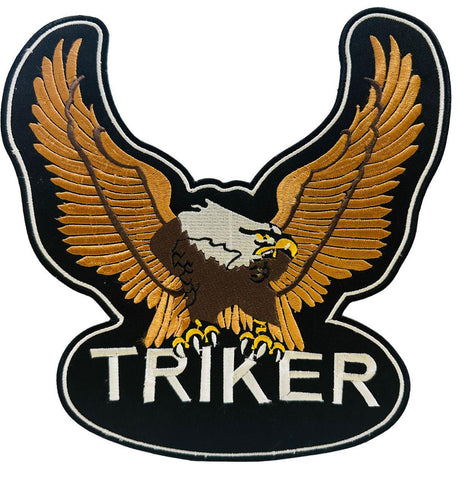 New arrival
WCEP88 TRIKER EAGLE DESIGN MOTORCYCLE PATCH EMBROIDERY IRON ON PATCH
$14.99 USDUnit price /Unavailable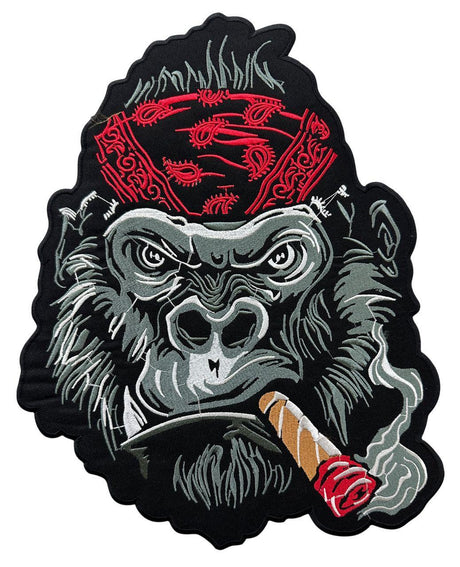
 Up to 29% offNew arrival$24.95 USD
$34.95Unit price /Unavailable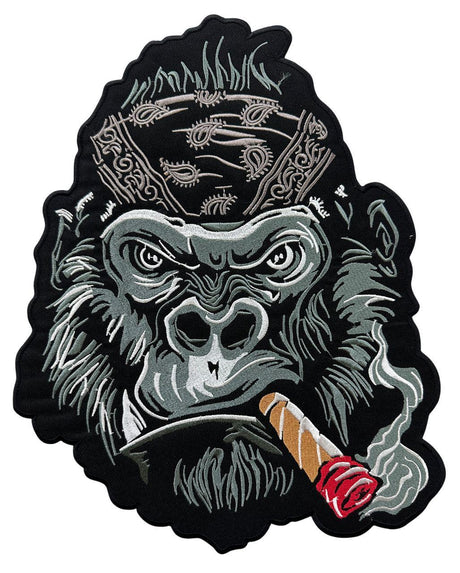
 Up to 29% offNew arrival$24.95 USD
$34.95Unit price /Unavailable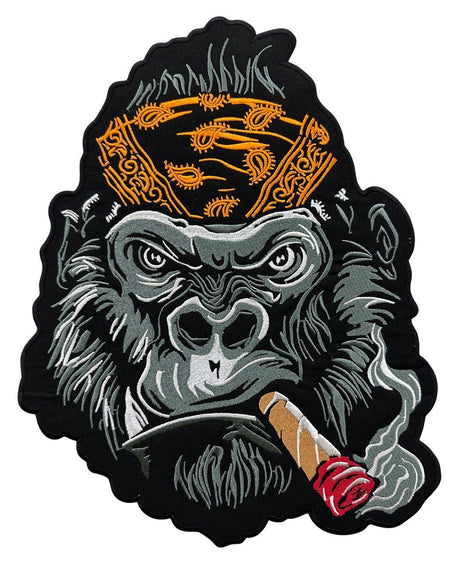
 Up to 35% offNew arrival$14.95 USD
$22.95Unit price /Unavailable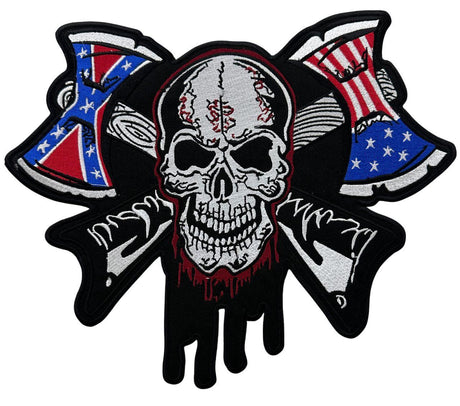 Up to 25% offNew arrival
WCEP169 LARGE VIKING SKULL CROSS BATTLE AXES EMBROIDER IRON ON OR SEW ON PATCHES FOR BIKERS
$14.95 USD$19.95Unit price /Unavailable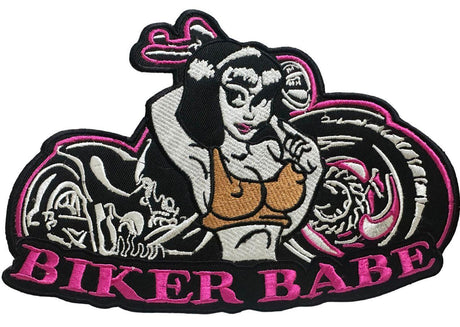
 New arrival
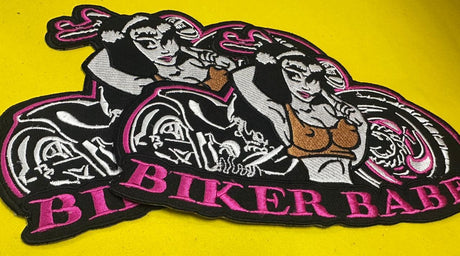
WCEP17 BIKER BABE PINK & WHITE DESIGNS MOTORCYCLE PATCH EMBROIDERY IRON ON PATCH
$11.99 USDUnit price /Unavailable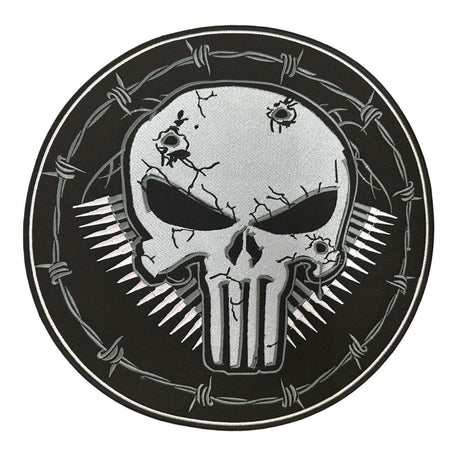
 New arrival$19.99 USDUnit price /Unavailable
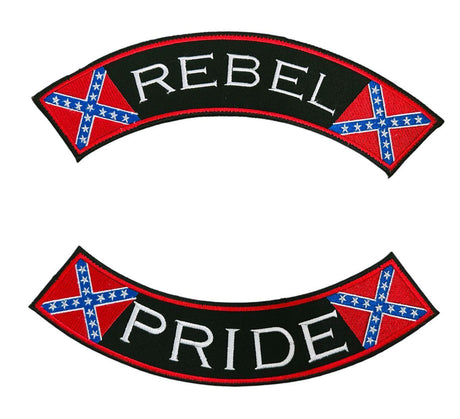
 New arrival
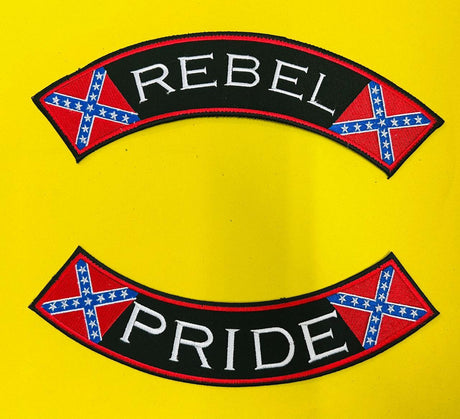
WCEP24 REBEL PRIDE ( ROCKER ) DESIGN MOTORCYCLE PATCH EMBROIDERY IRON ON PATCH
$14.99 USDUnit price /Unavailable
 New arrival$19.99 USDUnit price /Unavailable
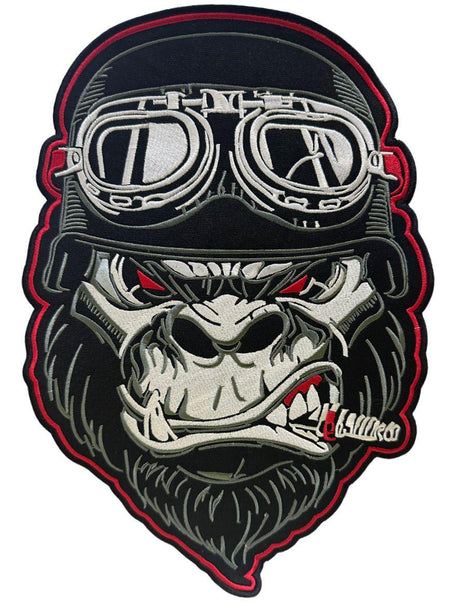
 New arrival
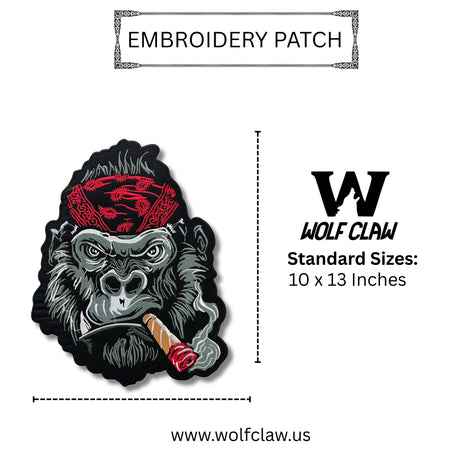
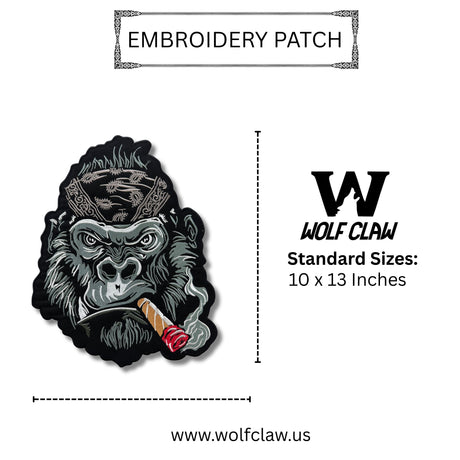
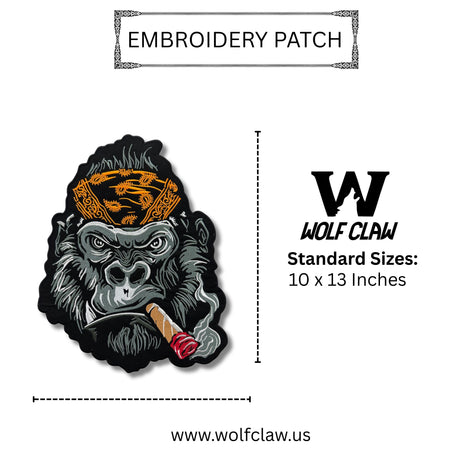
WCEP26 BIG MONKEY WITH CIGERATE & GLASSES DESIGN MOTORCYCLE PATCH EMBROIDERY IRON ON PATCH
$24.99 USDUnit price /Unavailable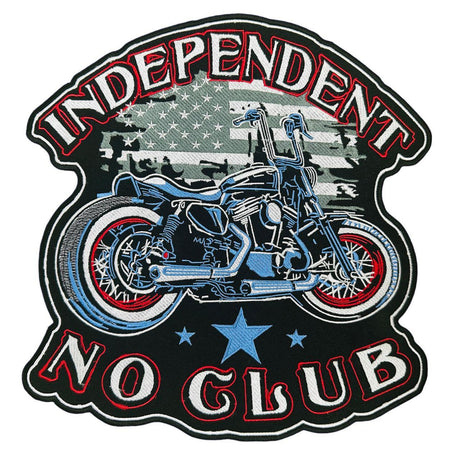
 New arrival
WCEP27 INDEPENDENT NO CLUB DESIGN MOTORCYCLE PATCH EMBROIDERY IRON ON PATCH
$24.99 USDUnit price /Unavailable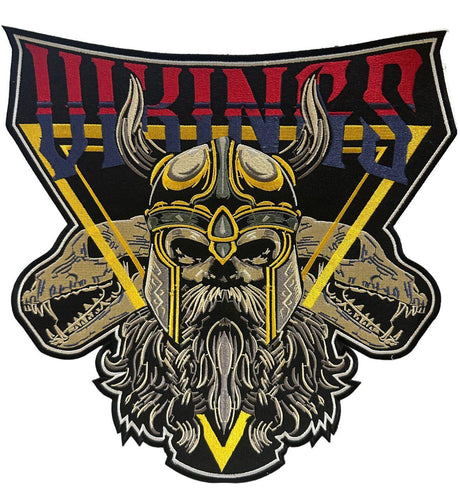
 New arrival
WCEP29 VIKING DESIGN MOTORCYCLE PATCH EMBROIDERY IRON ON PATCH
$24.99 USDUnit price /Unavailable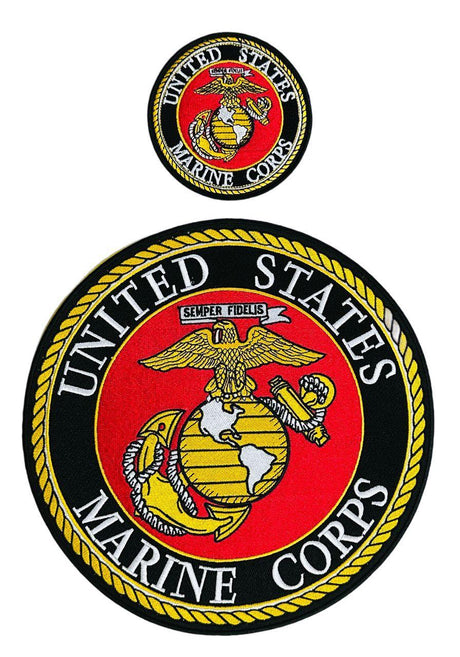
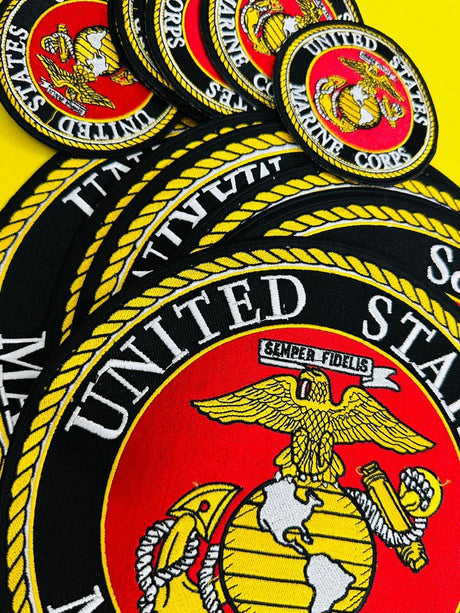 Up to 14% offNew arrival
WCEP40 UNITED STATES MARINE ROUND 2 PC SET DESIGN MOTORCYCLE PATCH EMBROIDERY IRON ON PATCH
$29.99 USD$34.99Unit price /Unavailable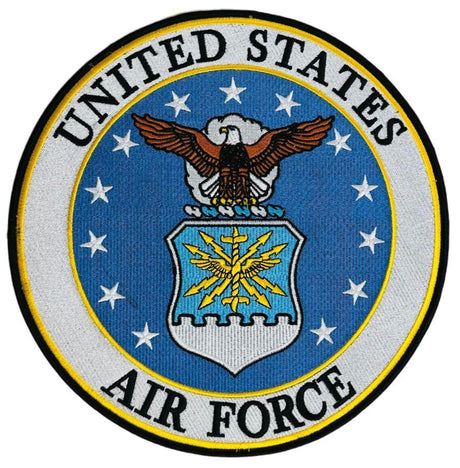
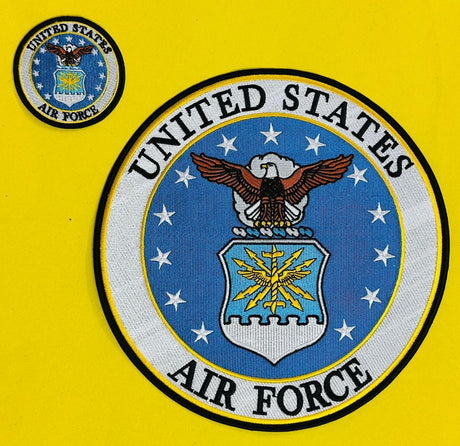 Up to 14% offNew arrival
WCEP41 UNITED STATES AIRFORCE ROUND 2 PC SET DESIGN MOTORCYCLE PATCH EMBROIDERY IRON ON PATCH (Copy)
$29.99 USD$34.99Unit price /Unavailable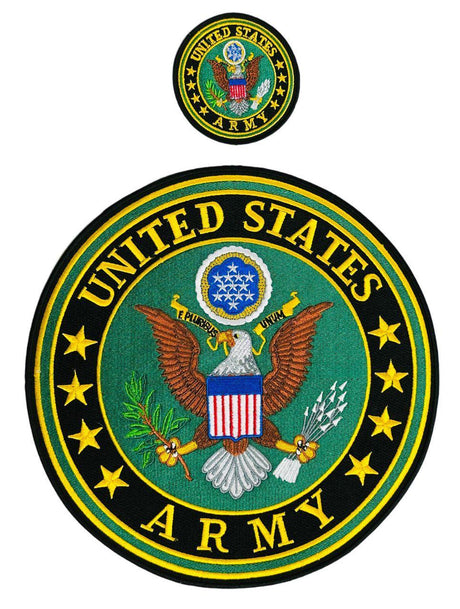
 Up to 14% offNew arrival
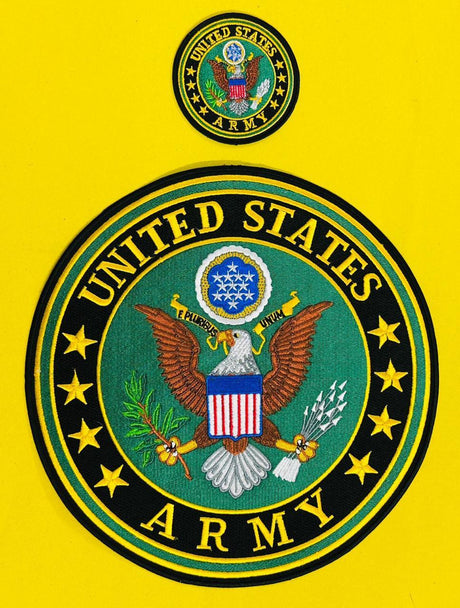
WCEP42 UNITED STATES ARMY ROUND 2 PC SET DESIGN MOTORCYCLE PATCH EMBROIDERY IRON ON PATCH
$29.99 USD$34.99Unit price /Unavailable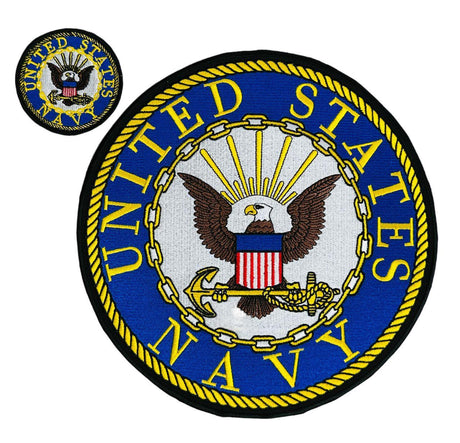
 Up to 14% offNew arrival
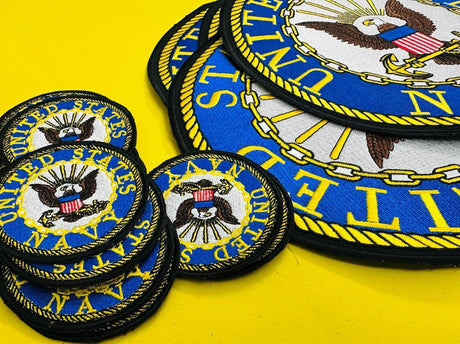
WCEP43 UNITED STATES NAVY ROUND 2 PC SET DESIGN MOTORCYCLE PATCH EMBROIDERY IRON ON PATCH
$29.99 USD$34.99Unit price /Unavailable


What are Embroidery Patches?
Embroidery patches are decorative or symbolic emblems made with high-thread-count stitching on a durable fabric base. Whether iron-on or sew-on, they’re a creative way to customize your clothing, gear, or accessories with minimal effort and maximum impact. Wolf Claw patches combine traditional embroidery craftsmanship with bold modern design, making them a must-have for collectors, bikers, and trendsetters.
Where Can You Use Our Embroidered Patches?
Our patches are incredibly versatile and perfect for:
- Biker jackets and leather vests
- Denim jackets and jeans
- Backpacks, bags, and caps
- Military or tactical uniforms
- DIY clothing projects and patchwork repairs
- Club, event, or brand personalization
Types of Embroidery Patches We Offer
Wolf Claw has a wide range of embroidery patches that suit every vibe and purpose:
· Biker Patches
· Military Patches
· Floral & Girlish Patches
· Funny, Sarcastic, or Bold Text Patches
· Wildlife, Horror, Skull & Grim Reaper Patches
Placement of Embroidery Patches on Biker Gear
The placement of embroidery patches on biker vests and jackets isn’t just about style, it’s a reflection of identity, hierarchy, and tradition. Whether you are part of a motorcycle club or an independent rider, knowing where and how to place your biker patches adds authenticity and respect to your gear.
Back Placement (Main Area for Club Patches)
Front Placement (Name & Rank Patches)
Shoulder & Arm Patches
Side or Bottom of Vest/Jacket
Accessories & Bags
🧵 Application Tips
· Sew-on patches are best for durability
· Iron-on patches are great for fast, easy placement
· Many bikers prefer a combo of both for strong adhesion
· Always place patches carefully and respectfully, especially club colors, to avoid misunderstandings
How to Iron-On Your Biker Patch?
Set your iron to the “Cotton” or high heat setting (around 350°F or 180°C).
Turn off steam. Iron-on patches adhere with dry heat only. Lay your item on a flat, heat-resistant surface. Make sure it’s clean and wrinkle-free. Decide where you want to place the patch. Measure and center it if needed. Place the patch with adhesive side down (shiny side) on your garment. Cover it with a pressing cloth or parchment paper to protect the threadwork. Press the hot iron firmly on the patch for 20–30 seconds. Apply even pressure and don’t move the iron around. Let it cool for a few seconds, then repeat from the inside of the garment for stronger bonding (if the material allows). Allow the patch to cool completely (about 5–10 minutes). Check the edges. If they lift, reapply heat for another 10 seconds.
How to Sew-On Your Biker Patch?
To sew an embroidery patch onto your garment, start by cleaning and pressing the fabric, then position the patch where you'd like it. Use a matching thread and a needle, tying a knot at the end. Sew around the edge of the patch with small, tight stitches using a running stitch or whip stitch, ensuring it’s securely attached. Tie a knot on the inside of the garment to finish. For extra durability, reinforce the corners with additional stitches. Finally, press the patch gently with an iron to set the stitches and ensure it lays flat. Sewing your patch ensures long-lasting attachment, especially for high-wear items like jackets and vests.
🧼 Care Guide
To keep your embroidery patches looking sharp:
- If ironed on, wash inside out in cold water
- Avoid high heat in the dryer (air dry is best)
- For sewn patches, gentle machine wash is safe
- Don’t bleach or wring—this helps preserve thread colors and detail
Our patches are made to last—even on the road.